
Peace Sign with Paper Flowers – Tutorial
Im back. And if you notice, its only been a week since i posted last, not 6 months!! Im so on a roll ;)
So – if you remember, ive been re-doing my entry way. Last time i posted about it, i had just put up the vintage cupboard over my blue dressser. Well, now both of those are gone. I just couldnt work with that cupboard as much as i loved it, so im going to use it somewhere else. Where, im not sure yet – but i love it and it will find a new home somewhere.
Anyways. Ive recently refinished a buffet for me, its pink!!! If you follow me on facebook you have already seen it. Looks like a new blog post is in order about the buffet as well. The new pink buffet is now in my entry way and i will be doing a collage wall above it. One of the things i knew right away that i wanted in the collage was a peace sign.
I kept thinking about how i was going to make this peace sign that i now had to have because i finally had a vision for the space again – i love getting excited about doing a space! I kept thinking how hard it was going to be to make out of wood and couldnt quite come up with something that i could envision.
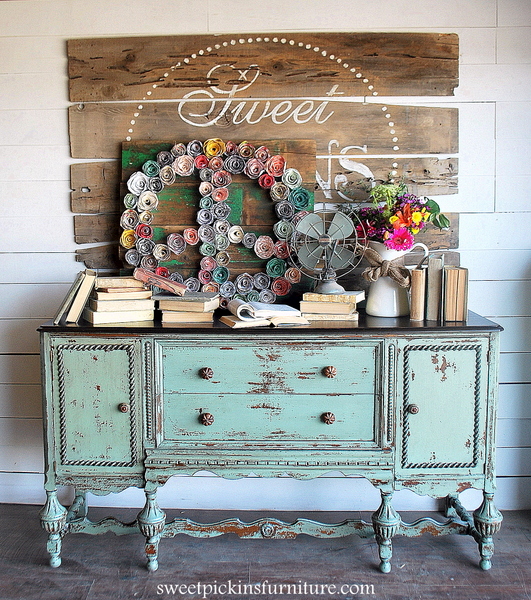
Until i thought about flowers. Lot and lots of flowers. Paper flowers. Lots and lots of paper flowers. Paper flowers in the shape of a peace sign. Yes!!
Paper flowers are nothing new and there are tons of online tutorials on how to make them. I did take some pics along the way but they are just from my phone and arent the best.
……………………………….
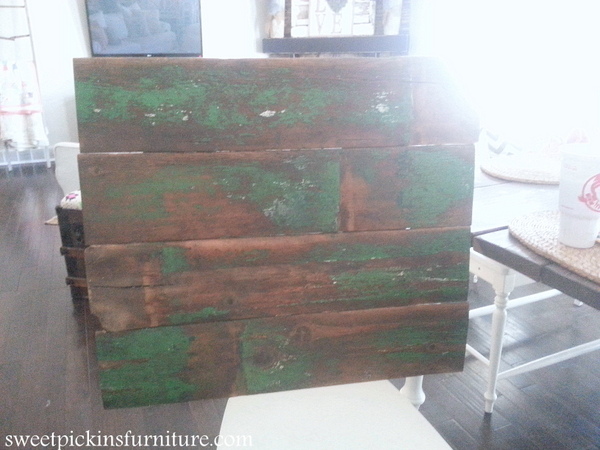
I started out with a fairly large board to put my sign on. I just used some left over barn wood that had this cool old green paint on. I cut my boards to size and just hooked them together on the back with a thin strip of wood. My sign is about 2 1/2 x 2 1/2 ft – so fairly big.
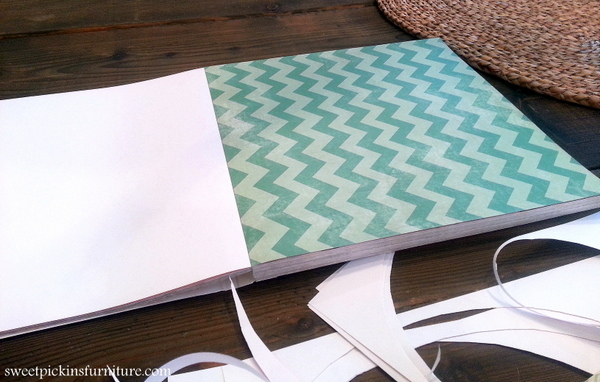
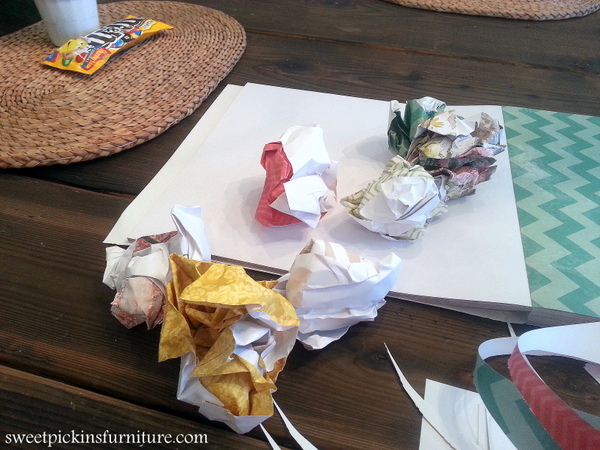
I found a big book of scrapbook paper that i liked the colors and designs. Really, you dont see the designs once its done, so just make sure you like the colors. And i found it easier to make the flowers with the thinner scrapbook paper not the thick card stock kind.
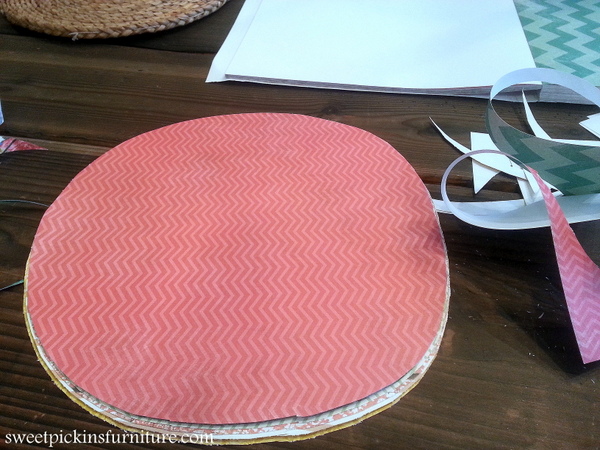
After taking out about 5 sheets or so at a time, i laid them on top of each other and cut out a large circle. You dont want to be perfect here. In fact the more organic your shape is, the better your flowers will look.
I found that i liked the flowers better when the paper was crumpled up and the best time to do this is now. So crumple away.
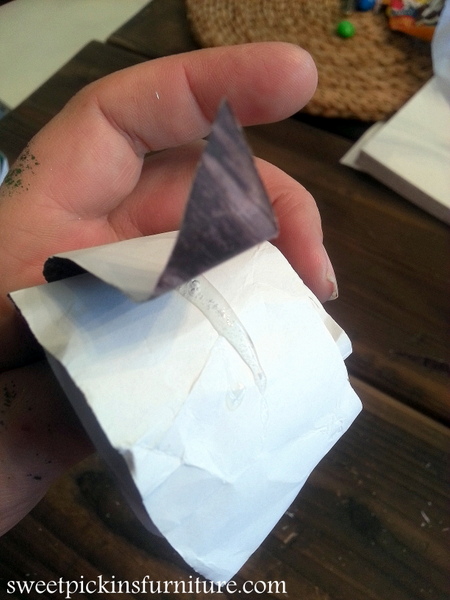
Then, flatten out your papers and start on the outside and begin cutting a circular, snake like shape. Again, dont be perfect. The more organic the better. Towards the inner part of the circle, instead of keeping going all the way to the end, i just snipped the end off. You probably wont understand what im talking about until you make your own flowers. But then you will get what i mean :)

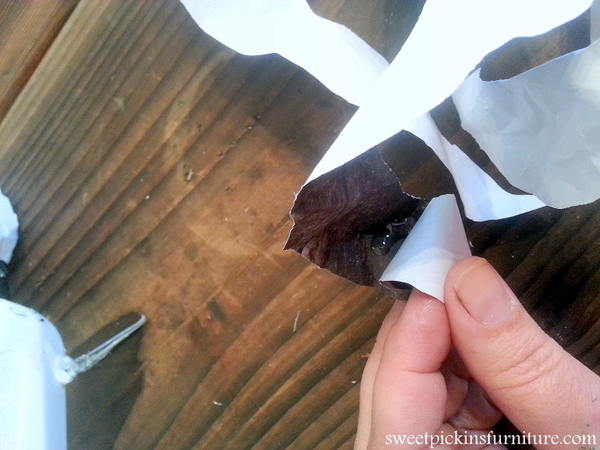
After you’ve made your squiggly, crumpled paper snake – start in the middle of your circle and begin rolling. You will be rolling it up so that the white, or back side of the paper is on the outside. You can see it a little in the pic, but i found that adding a little bit of hot glue at this point worked best for me. I did a couple little rolls and then added a dab of hot glue and then continued my roll. I found that this kept the inside of the flower together instead of coming apart when we loosen up the flower at the end.
After rolling up your flower all the way, its going to be small. Dont worry.
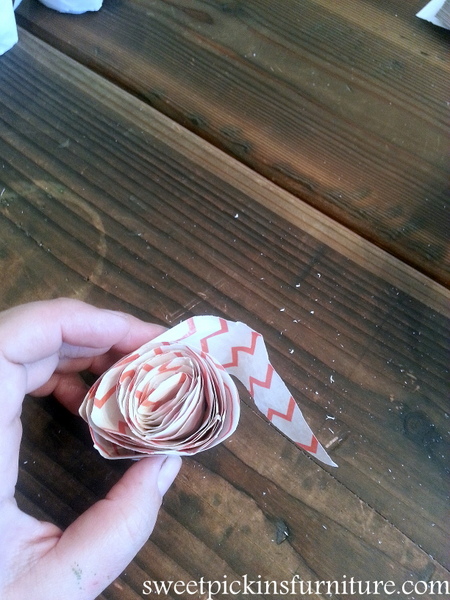
Take your flower and cup it between your two hands and let the flower loosen up. Some of my flowers i let them loosen more than others. That way i got big, small and medium flowers. The world is a better place with variety.
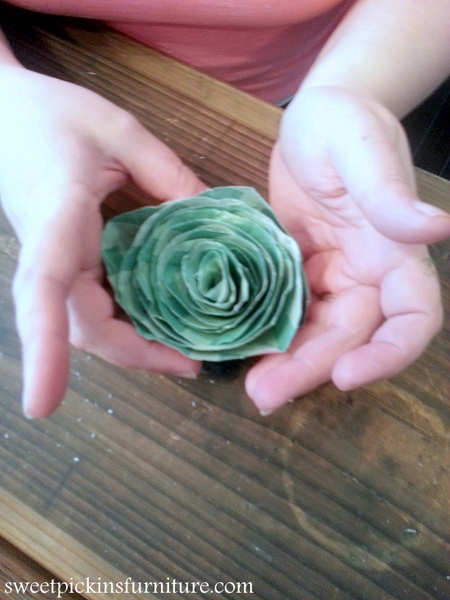
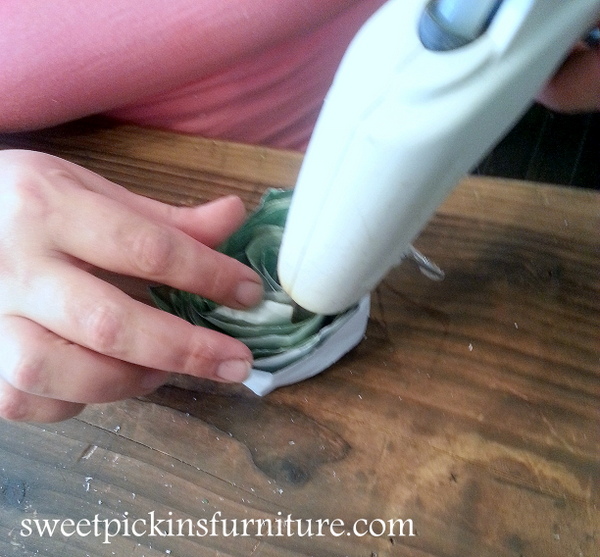
After i was happy with the size of the flower, i added a little dab of hot glue to the end to keep it from unraveling. Dont burn yourself. I did. Lots.
After recovering from my severe hot glue burn, i added a few more dabs of glue between the “petals” here and there. I found that this helped keep the shape of the flower, especially when the flowers were bigger. Dont go crazy here. Just a couple dabs will do ya.
We are so close to being done!!
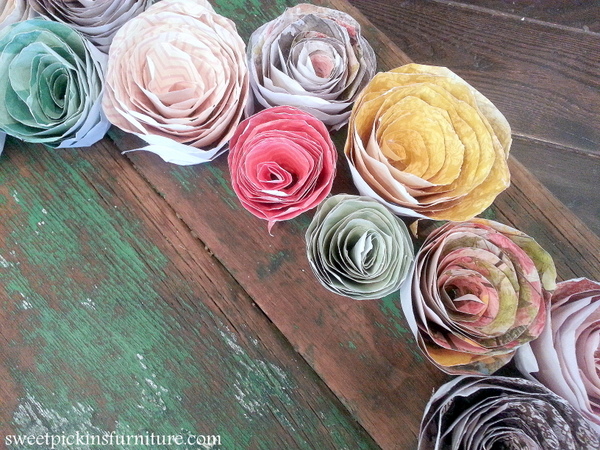
As i was making the flowers, i started shaping out my peace sign as i made each one. This way i could of course determine how many i needed, the colors i wanted to put next to each other and i also tried to vary the sizes of the flowers that i put next to each other. Just make it pretty to you.
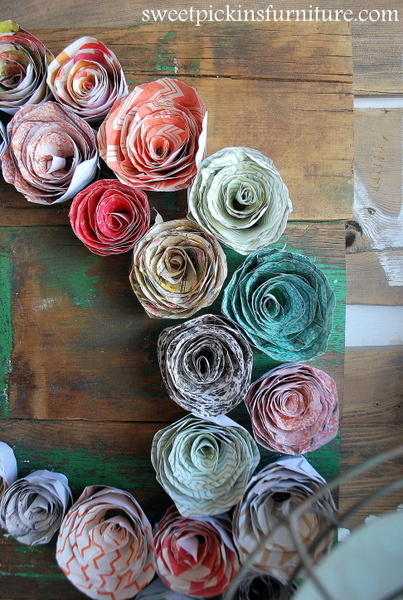
The last step, after you are happy with your design, is to glue all 8,929 flowers to the board. I just lifted up each flower one by one and added a little hot glue to the board and then pressed the flower back on lightly. This also kept the flowers from unraveling and its kept them from flattening out since the flowers are now (or will be soon) hung up on the wall. The glue keeps gravity from making them droopy.
And thats it – all done!!
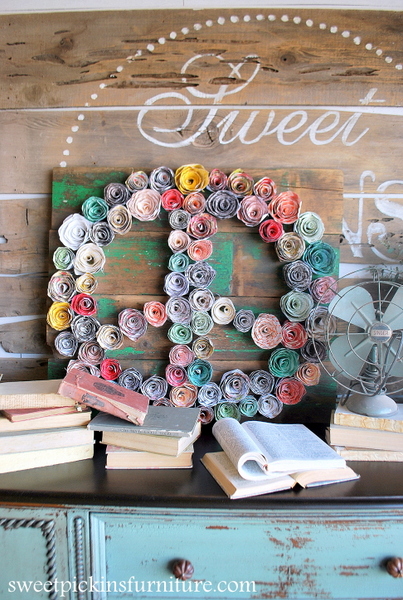
I really love the sign with all the different colors of the flowers and then the texture of the barn wood. And plus its a peace sign. Who doesnt love a peace sign?! Its fun, unique and whimsical and will be a perfect addition to my gallery/collage wall. Just a few more things to gather and then i will be working on putting that all together.
And just think of all the other designs you could make with the flowers – skies the limit.
…………………………..
Be back soon with updated pics of my entry, until then – PEACE OUT!!

