{Before & After}–cedar/blanket chest update
>
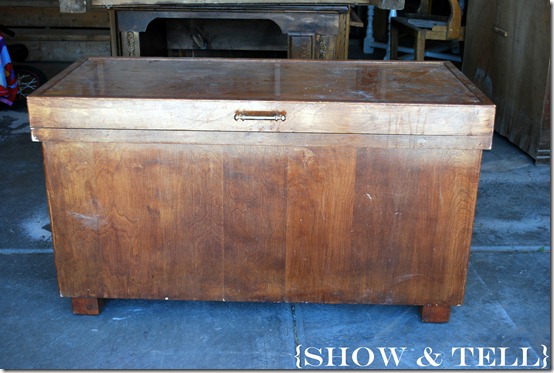
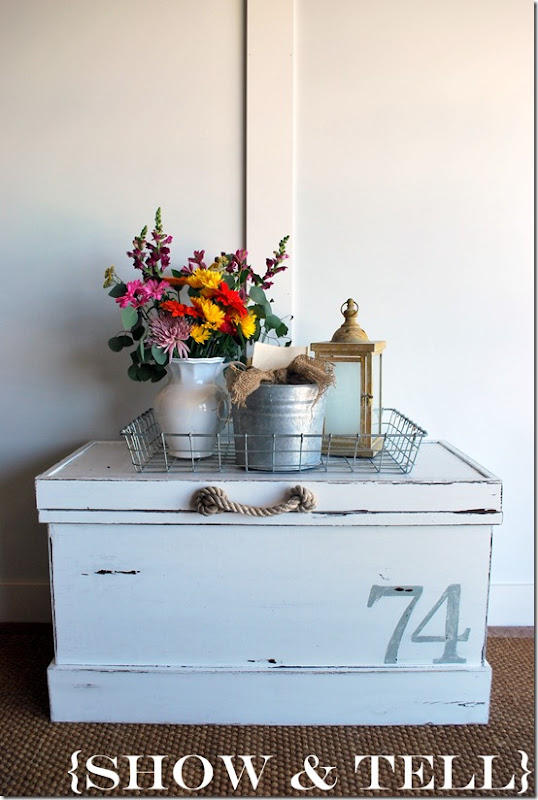
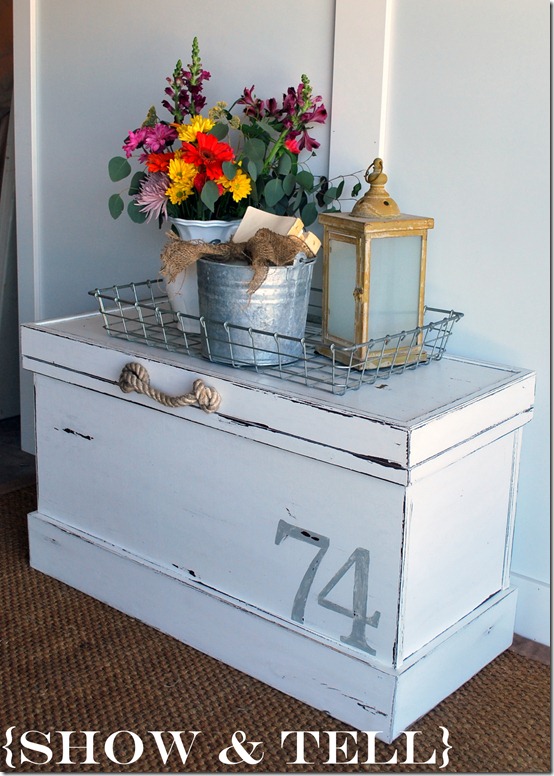
I knew when I came across this little chest, I knew that it could be super cute with a little paint and some extra molding to balance out the chest.
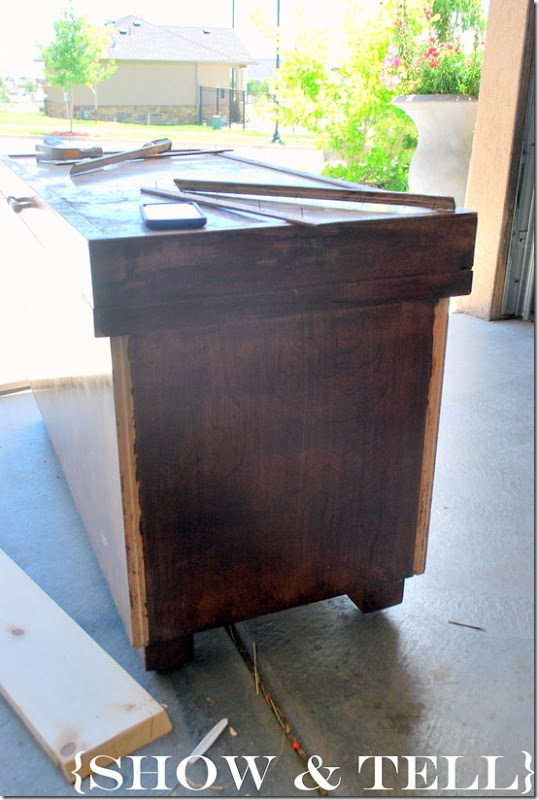
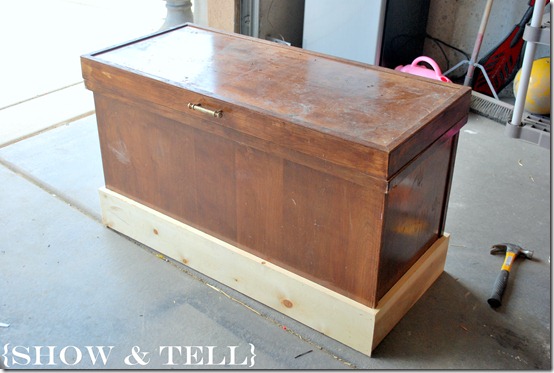
I got some cheap 6 in pine board and wrapped that around the bottom to cover up those little stubby legs. I also had to remove some little molding on the sides so I didn’t have gaps when I put on the molding – so those were removed, cut down and then put back on.
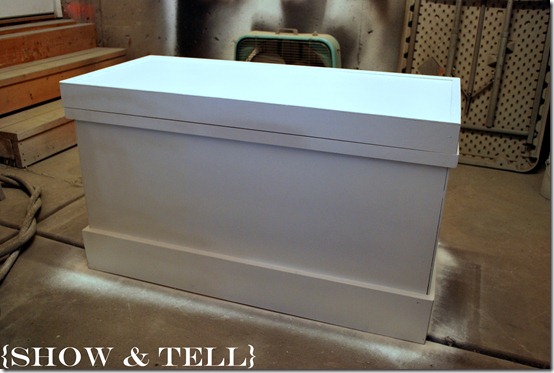
Then I cleaned, primed and painted (ultra white by Valspar)
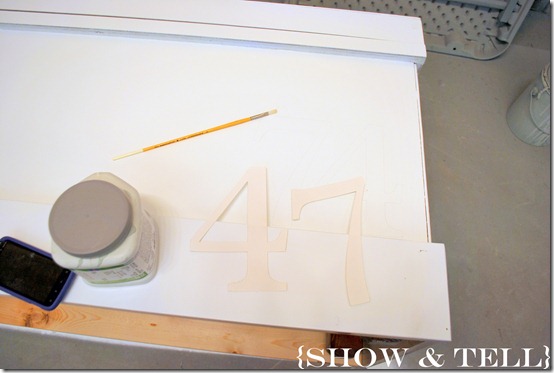
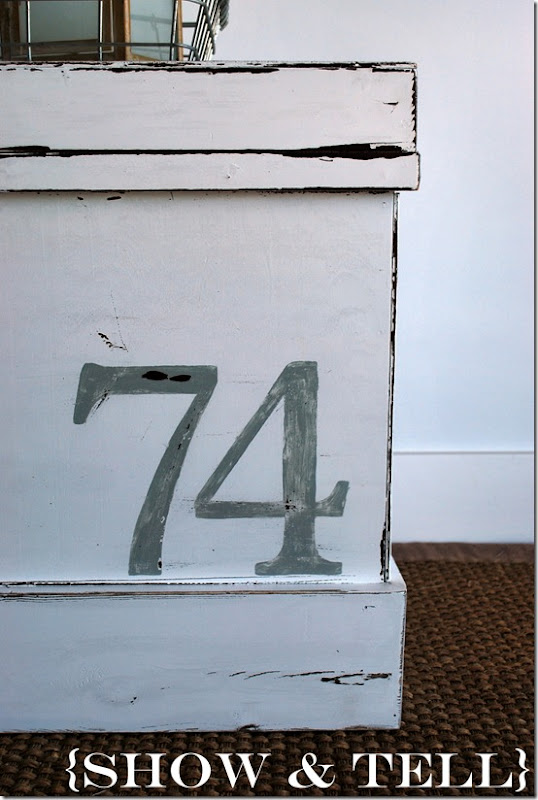
Because this chest was so plain, I decided to add a little stenciled # for a little somthin’ somthin’. I just cut the number with my cricut, traced it and then painted in the lines.
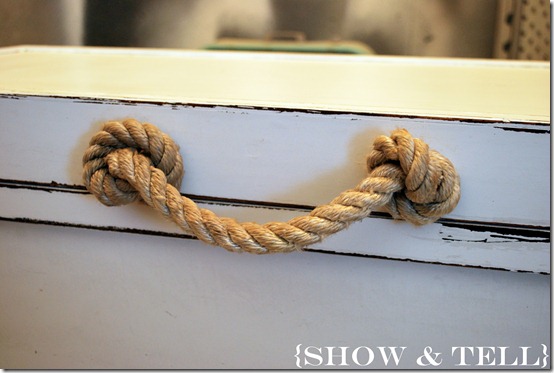
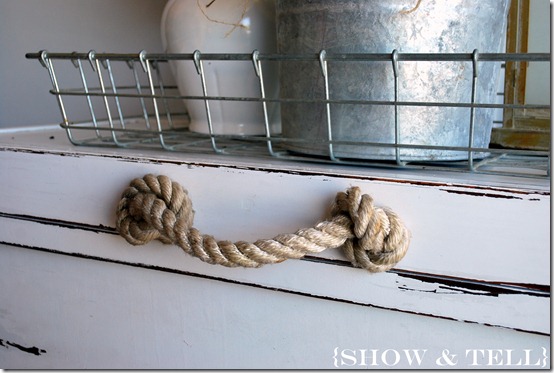
I also love rope handles, so any chance I have to use them im gonna :) I had a rope that was nice and big so I just drilled some big holes in the chest, tied a few knots and then I have me a super cute rope handle. I love the “beachy” vibe that it gives the chest.
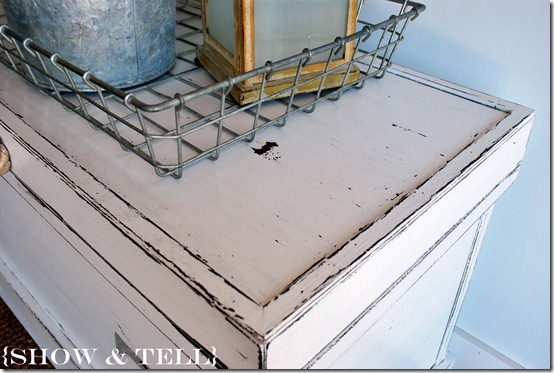
I distressed the entire chest, gave it a coat of poly and called it good.
I LOVE the way this chest turned out – if I hadn’t of already posted it for sale before I finished it on my Sweet Pickins site I would have kept it for myself, but I already had a list of people that wanted it :( It matches perfect with my house and im sure I could have found a spot for it…oh well…
AND – this chest could be used in so many spots. As a bench for taking off your shoes, at the end of a bed, as a coffee table, a side table, a toy chest or even as a nightstand. So cute…
BUT – luckily for me this chest has simple lines and would be so easy to build. So I think I just might make one for the end of my bed ![]()

